ESP32 - Knop - Debounce
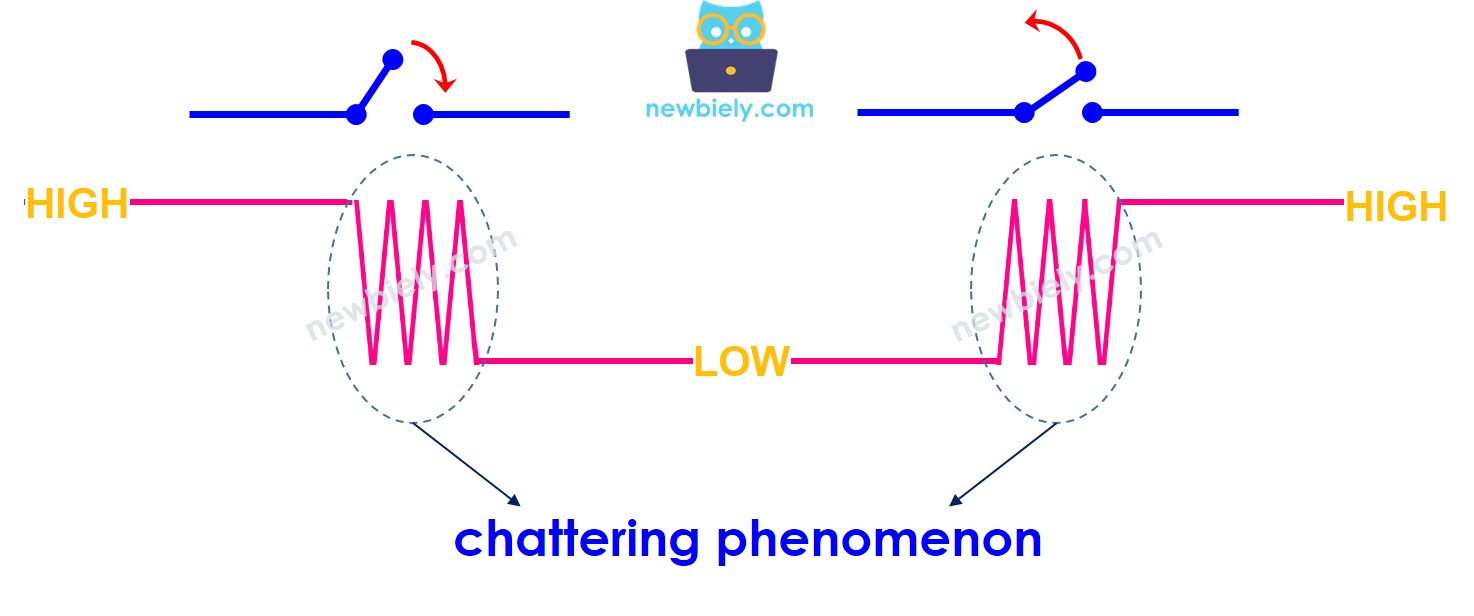
⇒ Nee, dat is het niet. Dit komt omdat in de fysieke wereld wanneer u eenmaal op een knop drukt, de knopstatus snel meerdere keren schakelt tussen LOW en HIGH in plaats van slechts één keer. Dit is een mechanische en fysieke eigenschap. Dit fenomeen staat bekend als chattering. Door chattering leest een MCU (bijv. ESP32) meerdere knopdrukken terwijl slechts één druk daadwerkelijk is uitgevoerd. Dit veroorzaakt verkeerde werking. Het proces om dit fenomeen te elimineren heet debounce. Deze handleiding laat zien hoe u dit doet.
Deze tutorial behandelt:
- Hoe u debounce toepast voor een knop in ESP32 code
- Hoe u debounce toepast voor een knop in ESP32 met behulp van een library
- Hoe u debounce toepast voor meerdere knoppen in ESP32 met behulp van een library
Hardware vereist
Of u kunt de volgende kits kopen:
| 1 | × | DIYables Sensorkit (30 sensoren/displays) | |
| 1 | × | DIYables Sensorkit (18 sensoren/displays) |
Over knop
We hebben specifieke tutorials over knoppen. De tutorial bevat uitgebreide informatie en stapsgewijze instructies over hardware pinout, het werkingsprincipe, de bedrading naar ESP32, ESP32 code en meer... Meer weten? Bezoek de volgende link:
Bedradingsschema
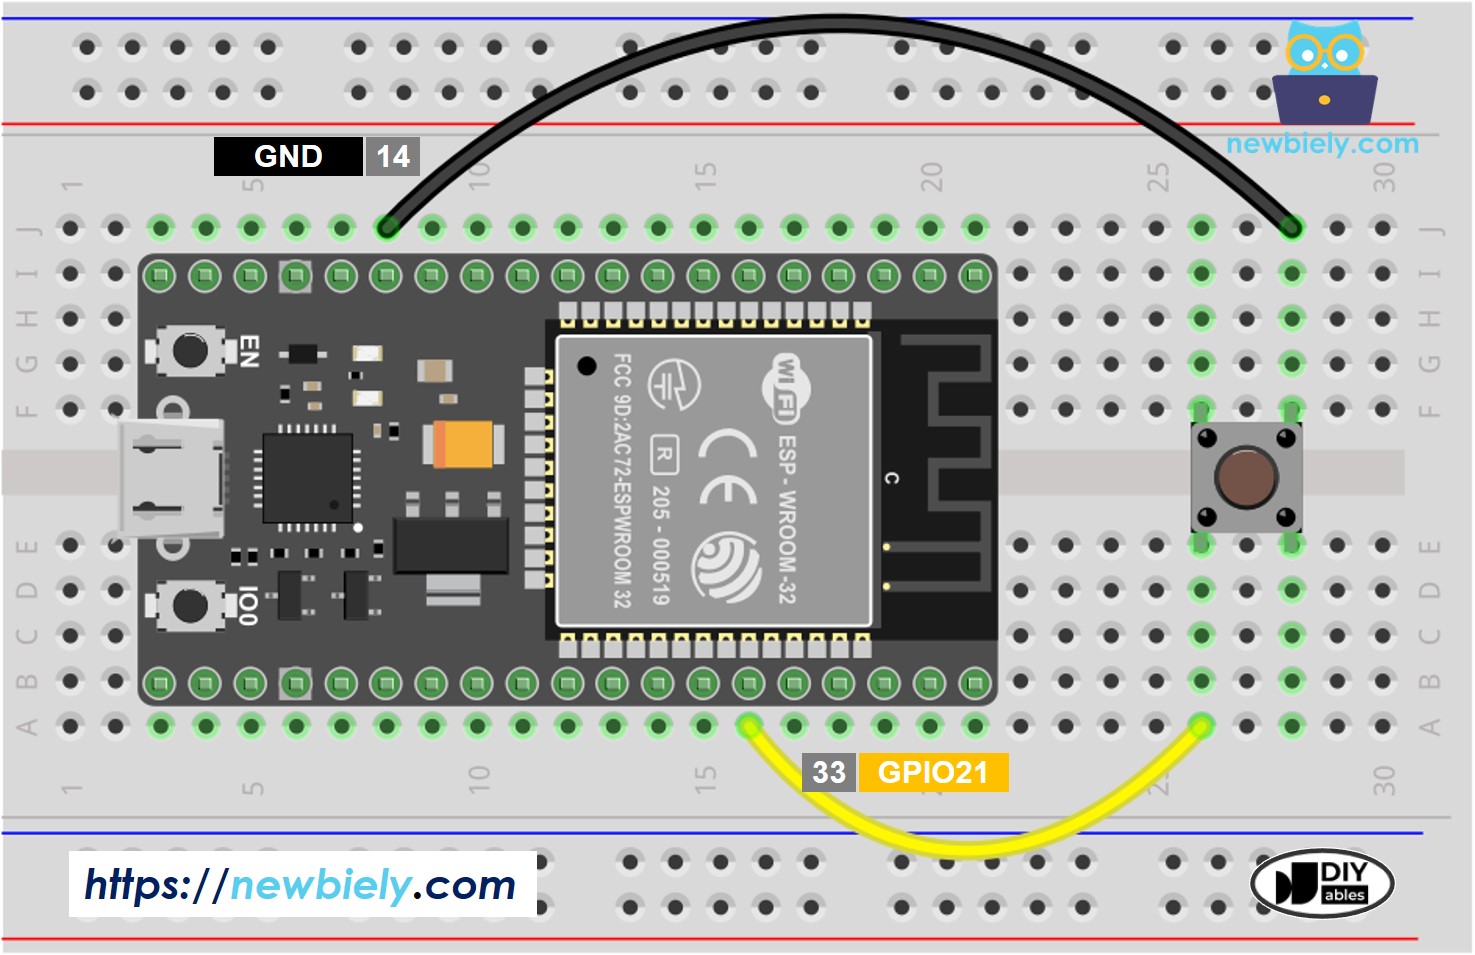
Deze afbeelding is gemaakt met Fritzing. Klik om de afbeelding te vergroten.
Om het duidelijk te maken, laten we ESP32 code draaien ZONDER en MET debounce en de resultaten vergelijken
Knop uitlezen zonder Debounce
Snelle stappen
- Als u voor het eerst ESP32 gebruikt, bekijk dan hoe u de omgeving instelt voor ESP32 in Arduino IDE.
- Maak de bedrading volgens bovenstaande afbeelding.
- Sluit de ESP32 aan op uw PC via een micro-USB-kabel.
- Open Arduino IDE op uw PC.
- Kies de juiste ESP32 board (bijv. ESP32 Dev Module) en COM-poort.
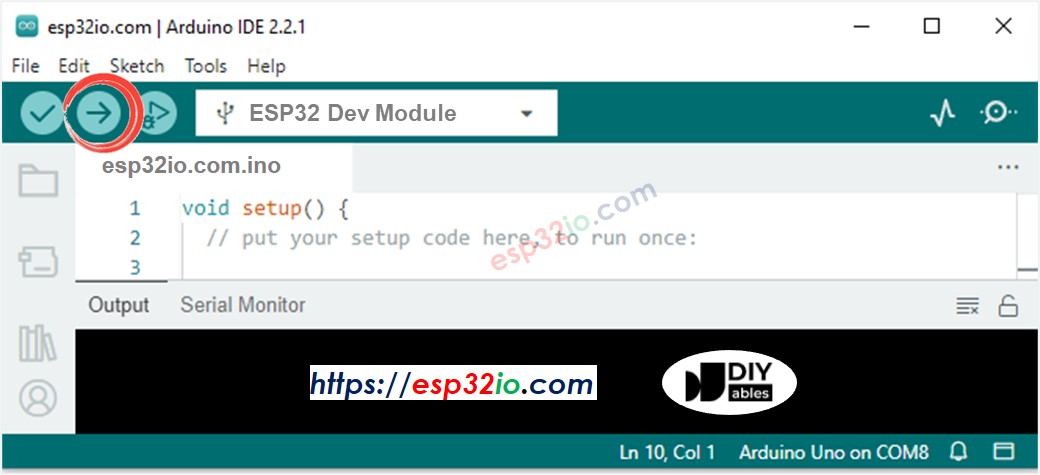
- Kopieer onderstaande code en plak deze in Arduino IDE.
- Compileer en upload de code naar het ESP32 bord door op de Upload knop in Arduino IDE te klikken
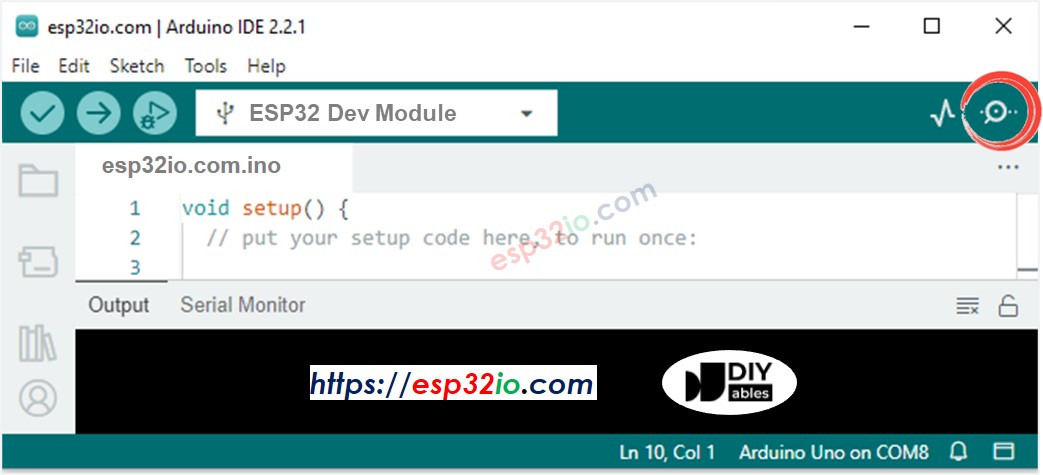
- Open de Serial Monitor in Arduino IDE
- Druk één keer op de knop, houd deze enkele seconden ingedrukt en laat los.
- Bekijk het resultaat in de Serial Monitor. Dit ziet er ongeveer zo uit:
⇒ Zoals u ziet, heeft u slechts één keer gedrukt en losgelaten, maar de ESP32 leest meerdere drukken en loslaten.
※ Notiz:
Het chattering fenomeen gebeurt niet altijd. Mocht het niet optreden, probeer dan bovenstaande test meerdere keren.
Knop uitlezen met Debounce
Snelle stappen
- Als u voor het eerst ESP32 gebruikt, bekijk dan hoe u de omgeving instelt voor ESP32 in Arduino IDE.
- Kopieer onderstaande code en plak deze in Arduino IDE.
- Compileer en upload de code naar het ESP32 bord door op de Upload knop in Arduino IDE te klikken
- Open de Serial Monitor in Arduino IDE
- Houd de knop enkele seconden ingedrukt en laat los.
- Bekijk het resultaat in de Serial Monitor. Dit ziet er ongeveer zo uit:
⇒ Zoals u ziet, drukte en liet u één keer los, en de ESP32 registreert ook één keer drukken en loslaten. Het chattering effect is geëlimineerd.
Wij maken het eenvoudig - ESP32 Knop Debounce Code met Library
Om het makkelijk te maken voor beginners, vooral bij meerdere knoppen, hebben we een knoplibrary ontwikkeld, genaamd ezButton. U kunt hier meer leren over de ezButton library.
ESP32 Knop Debounce Code voor één enkele knop
ESP32 Knop Debounce Code voor meerdere knoppen
Laten we debounce code schrijven voor drie knoppen.
Het bedrading schema
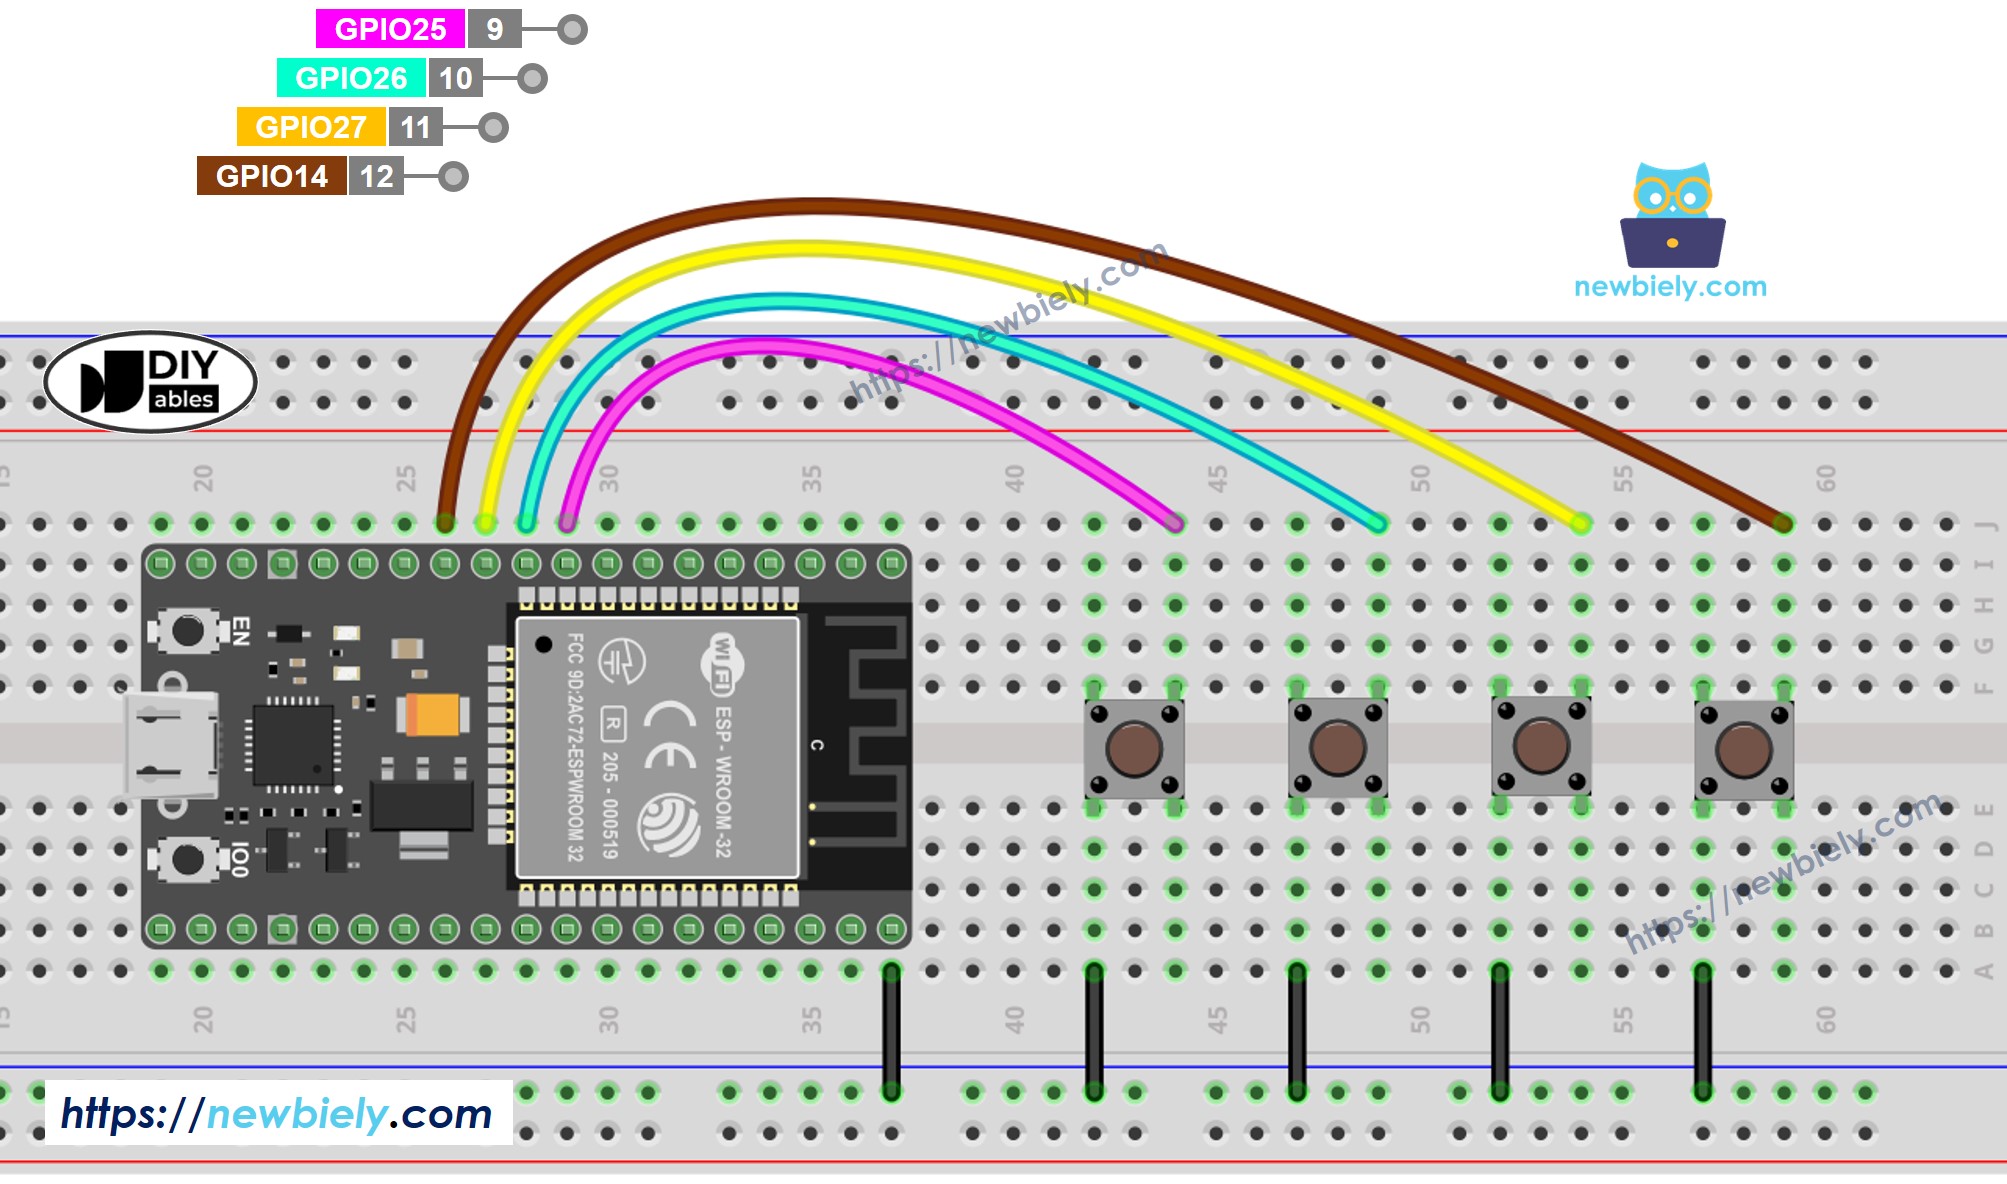
Deze afbeelding is gemaakt met Fritzing. Klik om de afbeelding te vergroten.
Video Tutorial
We overwegen het maken van videotutorials. Als u videotutorials belangrijk vindt, abonneer u dan op ons YouTube-kanaal om ons te motiveren de video's te maken.
Aanvullende kennis
- De DEBOUNCE_TIME waarde hangt af van de hardware. Verschillende hardware kan verschillende waarden vereisen.
- Debounce moet ook toegepast worden op aan/uit schakelaars, limiet schakelaars, reed switches, touch sensors ...