ESP32 - Gegevens Loggen met Tijdstempel naar Micro SD Kaart
In deze gids verkennen we het proces van het loggen van gegevens met tijdstempels naar een Micro SD Kaart met behulp van ESP32. We behandelen specifiek de volgende onderwerpen:
- Gegevens loggen met tijdstempels naar één enkel bestand op een Micro SD Kaart met ESP32.
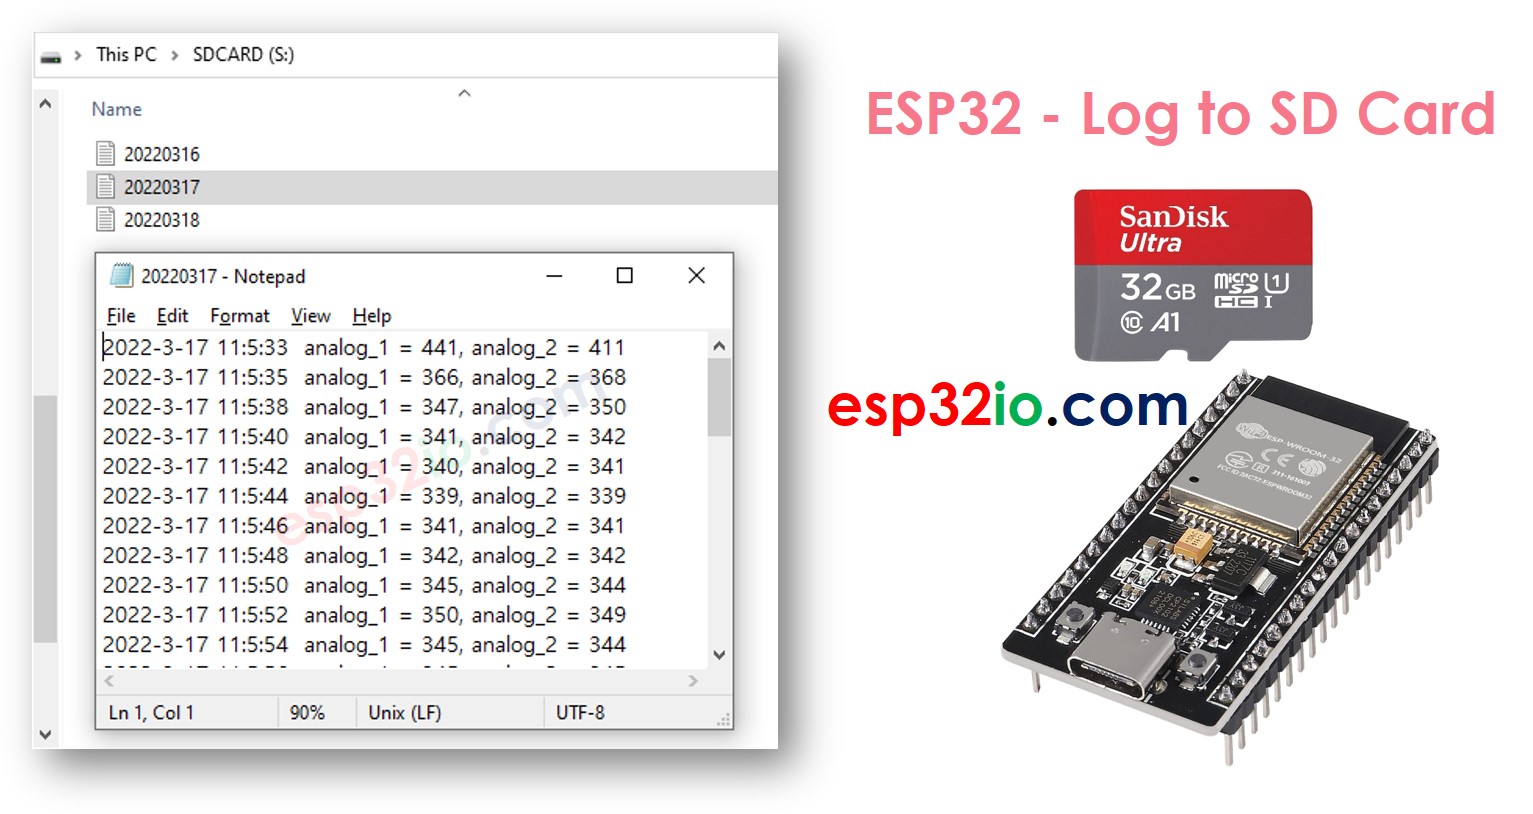
- Gegevens loggen met tijdstempels naar meerdere bestanden op een Micro SD Kaart, waarbij elk bestand gewijd is aan één dag.
De tijdsinformatie wordt gehaald uit een RTC-module (Real-Time Clock) en wordt vervolgens samen met de verzamelde gegevens op de Micro SD Kaart opgeslagen.
De op de Micro SD Kaart gelogde gegevens kunnen uiteenlopende informatie bevatten, zoals:
- Meetwaarden van sensoren.
- Een log van toegang tot een deurslot.
Voor de eenvoud zal deze tutorial de procedure demonstreren door waarden te lezen vanaf twee analoge pinnen, die dienen als voorbeeldgegevens. De meegeleverde code kan eenvoudig worden aangepast om verschillende soorten data te verwerken.
Hardware Benodigd
Of u kunt de volgende kits kopen:
| 1 | × | DIYables Sensorkit (30 sensoren/displays) | |
| 1 | × | DIYables Sensorkit (18 sensoren/displays) |
Over Micro SD Kaart Module en RTC Module
Bent u niet bekend met de Micro SD Kaart Module en RTC-module, inclusief hun pinout, functionaliteit en programmering? Verken de uitgebreide tutorials over deze onderwerpen hieronder:
- ESP32 - Micro SD Kaart tutorial.
- ESP32 - RTC Module tutorial.
Aansluitschema
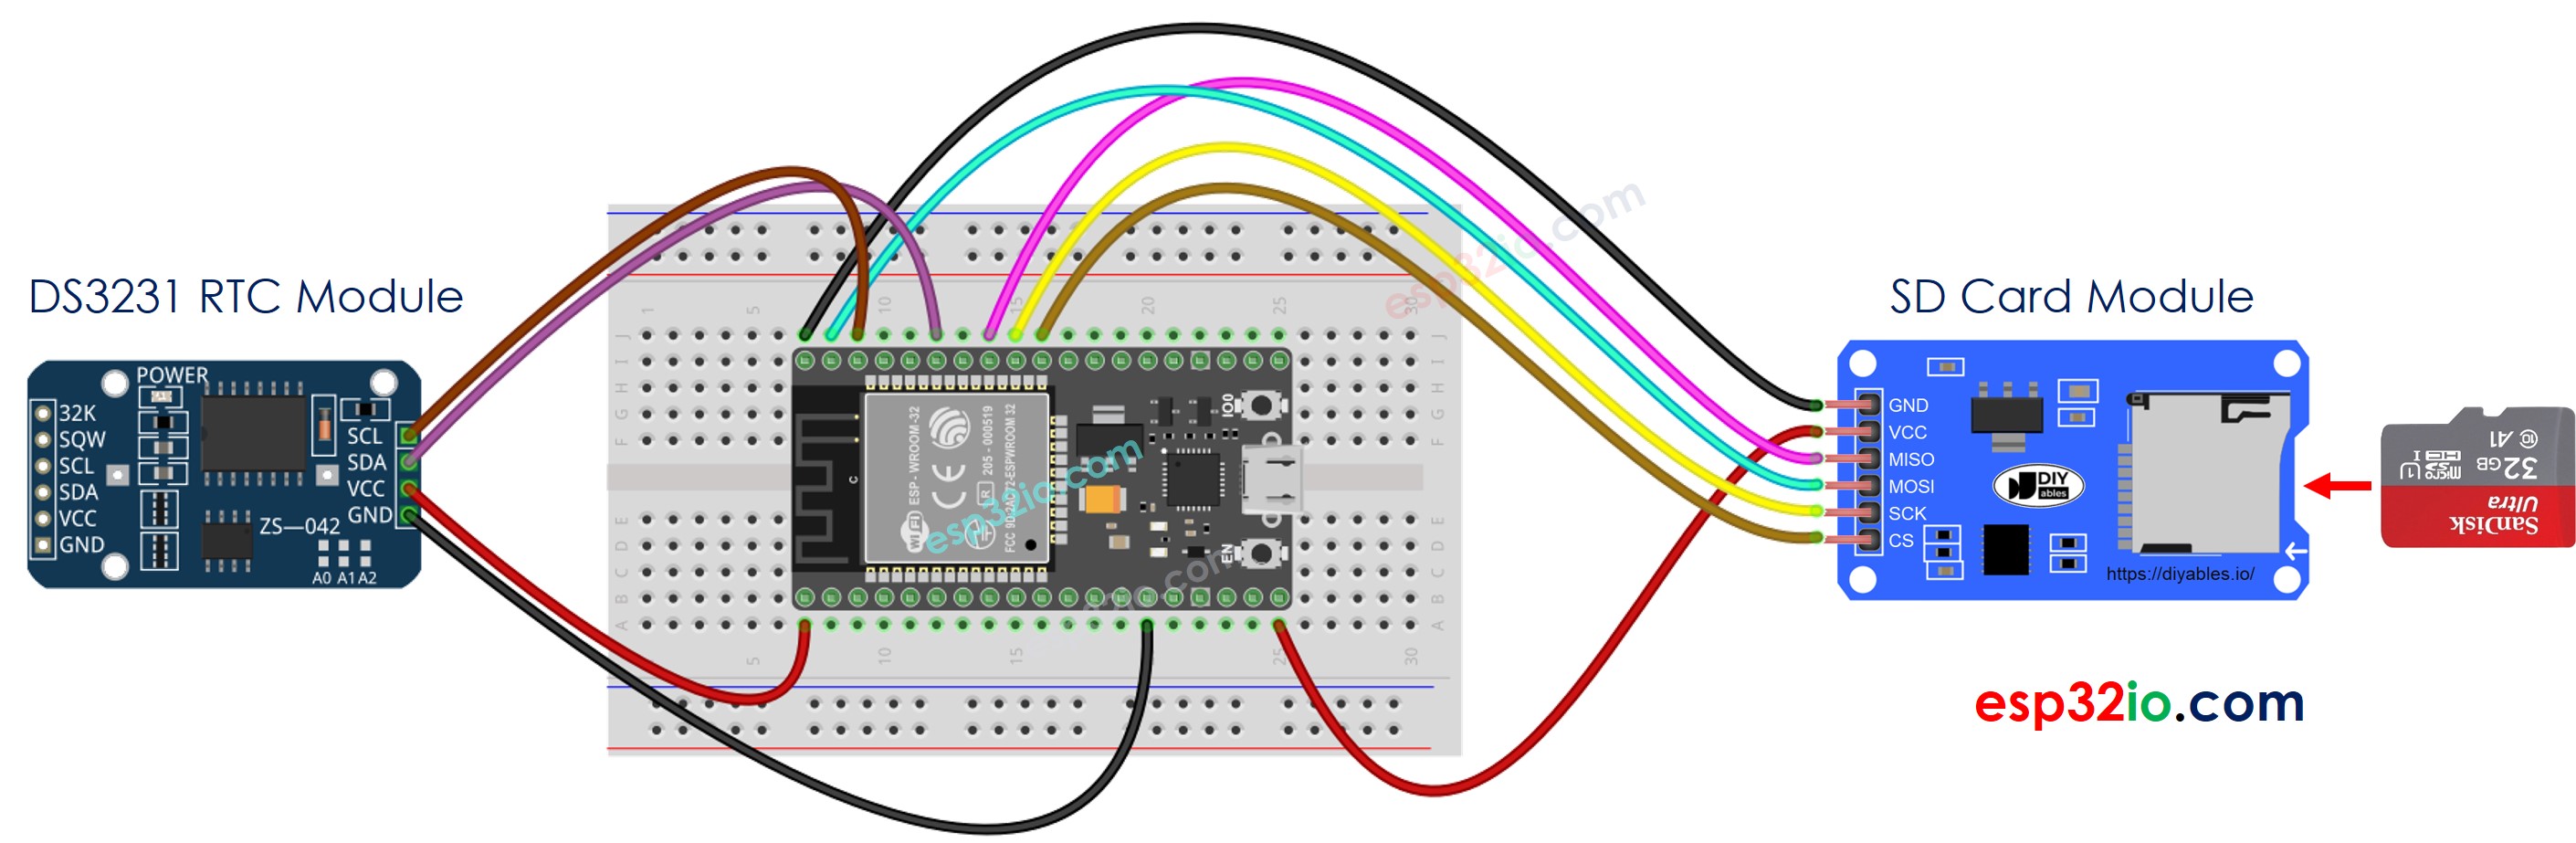
Deze afbeelding is gemaakt met Fritzing. Klik om de afbeelding te vergroten.
※ Notiz:
Als u een Ethernet shield of een ander shield gebruikt met een Micro SD Kaart houder, hoeft u de Micro SD Kaart Module niet te gebruiken. U hoeft alleen de Micro SD Kaart in de houder van het shield te plaatsen.
ESP32 - Gegevens Loggen met Tijdstempel naar Micro SD Kaart
Snelle Stappen
- Als u ESP32 voor het eerst gebruikt, bekijk dan hoe u de omgeving instelt voor ESP32 in Arduino IDE.
- Maak de verbindingen zoals op bovenstaande afbeelding.
- Verbind de ESP32 board met uw pc via een micro USB-kabel.
- Open Arduino IDE op uw pc.
- Selecteer het juiste ESP32 board (bijvoorbeeld ESP32 Dev Module) en de juiste COM-poort.
- Zorg ervoor dat de Micro SD Kaart geformatteerd is als FAT16 of FAT32 (zoek dit eventueel op via Google)
- Kopieer bovenstaande code en open deze met Arduino IDE
- Klik op de knop Upload in Arduino IDE om de code naar de ESP32 te uploaden
- Bekijk het resultaat op de Serial Monitor.
- Verwijder de Micro SD Kaart uit de Micro SD Kaart module
- Plaats de Micro SD Kaart in een USB SD Kaart lezer
- Verbind de USB SD Kaart lezer met uw pc
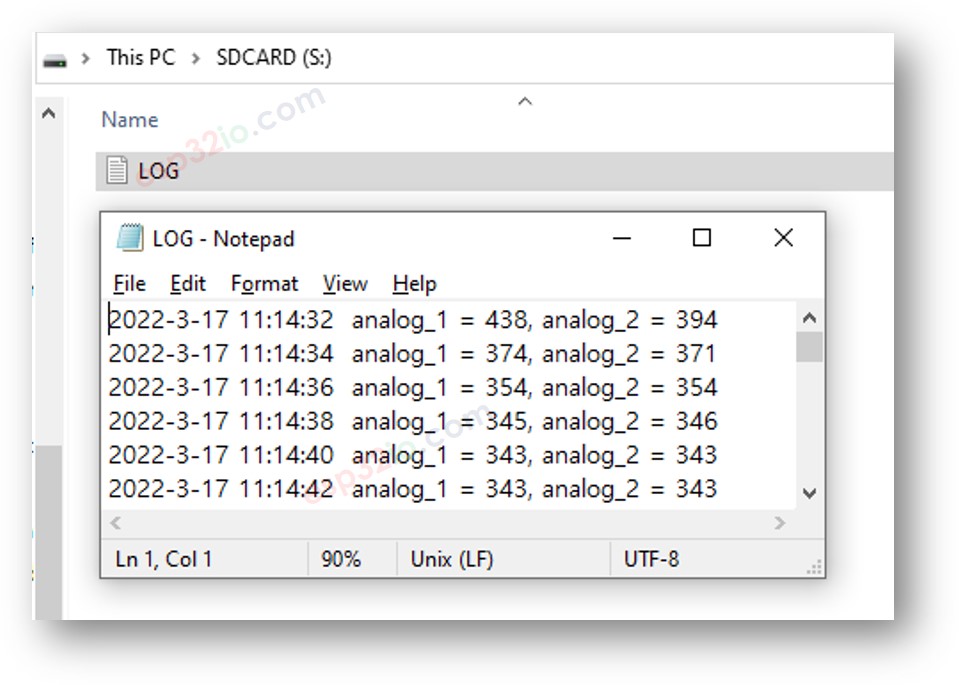
- Open het log.txt bestand op uw pc, het ziet eruit zoals hieronder
Als u geen USB SD Kaart lezer heeft, kunt u de inhoud van het logbestand controleren door onderstaande ESP32 code te draaien.
ESP32 - Gegevens Loggen in Meerdere Bestanden
Loggen naar één enkel bestand leidt na verloop van tijd tot een groot bestand en maakt het moeilijk om te controleren. De onderstaande code schrijft logbestanden in meerdere bestanden:
- Eén bestand per dag
- De bestandsnaam is de datum in het formaat YYYYMMDD.txt
Na een lange periode, als u:
- De Micro SD Kaart uit de Micro SD Kaart module haalt
- De Micro SD Kaart in een USB SD Kaart lezer plaatst
- De USB SD Kaart lezer aansluit op de pc
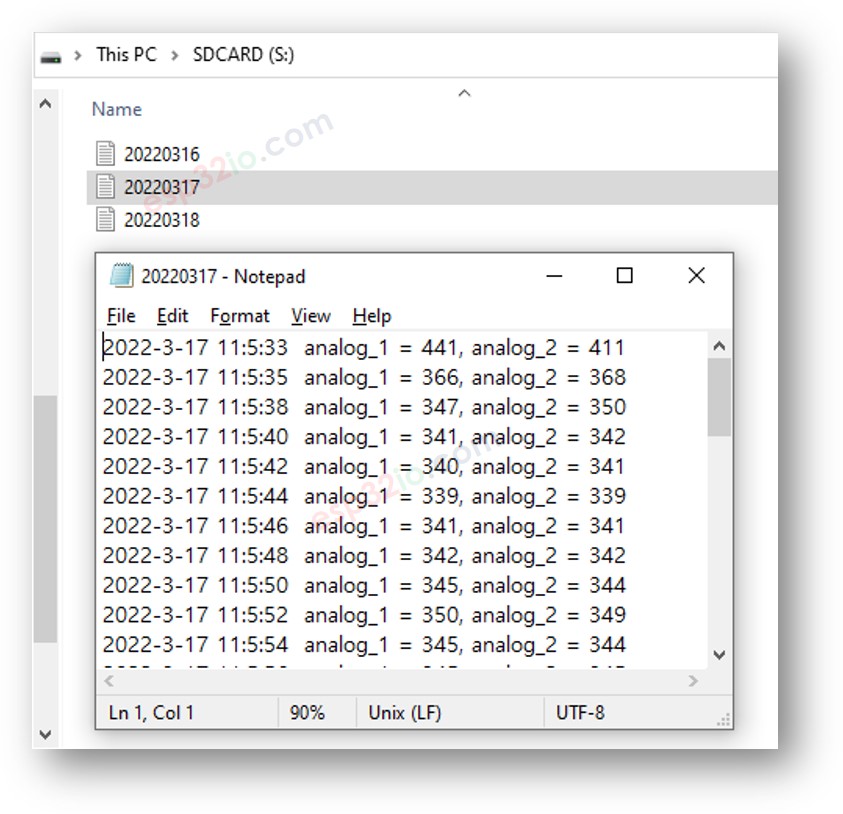
- Ziet u de bestanden als volgt:
Video Tutorial
We overwegen het maken van videotutorials. Als u videotutorials belangrijk vindt, abonneer u dan op ons YouTube-kanaal om ons te motiveren de video's te maken.