Arduino - LED - Knipperen zonder delay
Stel u voor dat Arduino twee taken moet uitvoeren: LED laten knipperen en de status van een knop controleren, die op elk moment ingedrukt kan worden. Als we de functie delay() gebruiken (zoals beschreven in een vorige tutorial), kan Arduino sommige drukgebeurtenissen missen. Met andere woorden, Arduino kan niet de tweede taak volledig uitvoeren.
In deze tutorial leert u hoe Arduino een LED laat knipperen en tegelijkertijd de status van een knop controleert zonder drukgebeurtenissen te missen.
We doorlopen drie voorbeelden en vergelijken de verschillen:
- Arduino laat een LED knipperen met de delay() functie
- Arduino laat een LED knipperen met de millis() functie
- Arduino laat een LED knipperen met de ezLED bibliotheek
※ Notiz:
- Deze methode is niet alleen voor het knipperen van een LED en het controleren van een knop. Over het algemeen maakt deze methode het mogelijk dat Arduino meerdere taken tegelijkertijd uitvoert zonder elkaar te blokkeren.
- Deze tutorial biedt diepgaande kennis om het werkingsprincipe te begrijpen. Voor eenvoudiger gebruik kunt u de Arduino - LED bibliotheek gebruiken.
Hardware vereist
Of u kunt de volgende kits kopen:
| 1 | × | DIYables Sensorkit (30 sensoren/displays) | |
| 1 | × | DIYables Sensorkit (18 sensoren/displays) |
Over LED en knop
Als u niet bekend bent met LED en knop (pinout, werking, programmeren ...), bekijk dan deze tutorials:
Aansluitschema
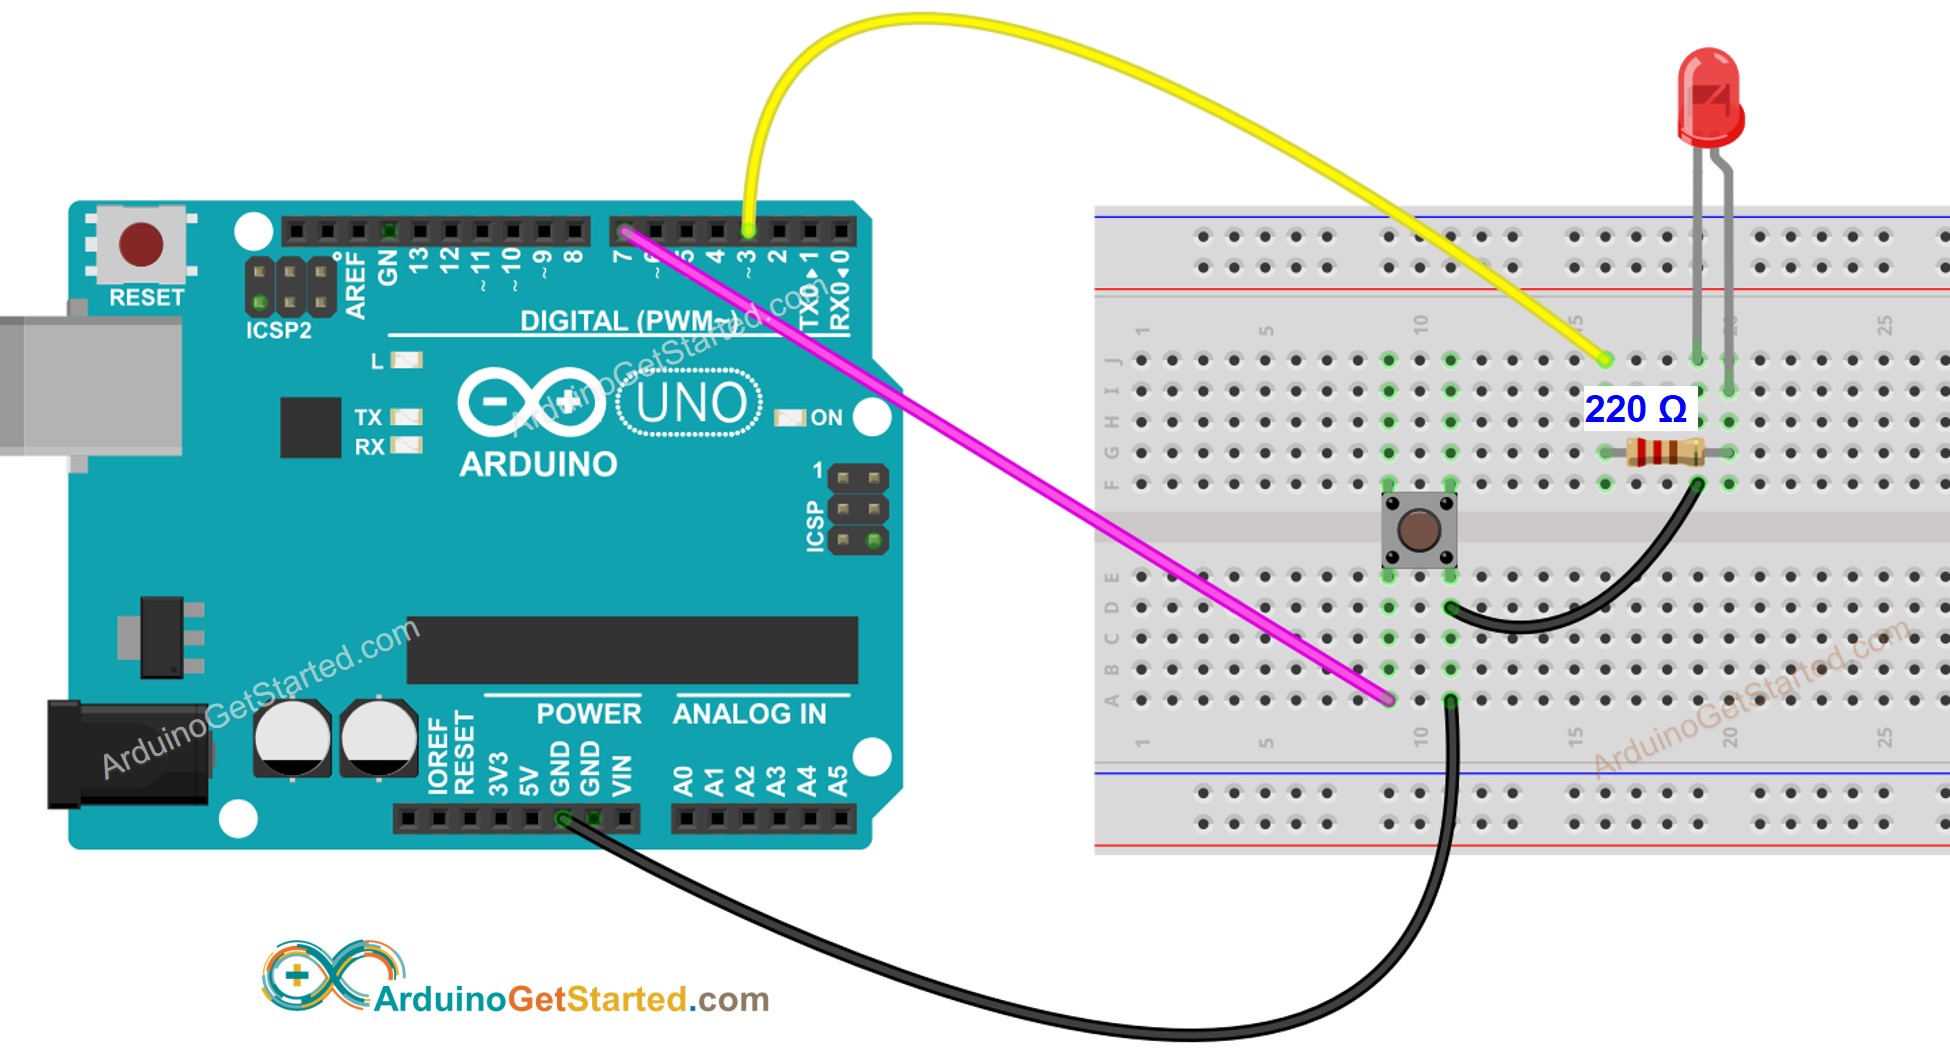
Deze afbeelding is gemaakt met Fritzing. Klik om de afbeelding te vergroten.
Arduino Code - Met Delay
Snelle Stappen
- Verbind Arduino met de pc via USB-kabel
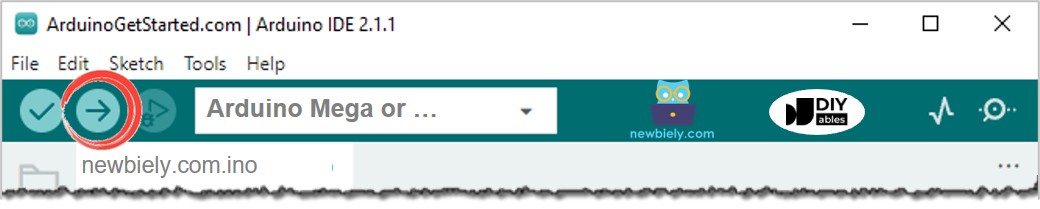
- Open Arduino IDE, selecteer het juiste board en poort
- Kopieer de bovenstaande code en open deze in Arduino IDE
- Klik op de Upload knop in Arduino IDE om de code naar Arduino te uploaden
- Open de Seriële Monitor
- Druk 4 keer op de knop
- Kijk naar de LED: De LED wisselt periodiek tussen AAN/UIT elke seconde
- Bekijk de output in de Seriële Monitor
- In de Seriële Monitor zijn sommige knopdrukken gemist. Dit komt doordat Arduino TIJDENS de delay NIETS kan doen. Daarom kan het de drukgebeurtenissen niet detecteren.
Arduino Code - Zonder Delay
Snelle Stappen
- Start de bovenstaande code en druk 4 keer op de knop
- Kijk naar de LED: De LED wisselt periodiek tussen AAN/UIT elke seconde
- Bekijk de output in de Seriële Monitor
- Alle drukgebeurtenissen werden gedetecteerd.
Code-uitleg
Lees de lijn-voor-lijn uitleg in de commentaarregels van de code!
Meer taken toevoegen
De onderstaande code laat twee LEDs knipperen met verschillende intervallen en controleert de status van de knop.
Video Tutorial
We overwegen het maken van videotutorials. Als u videotutorials belangrijk vindt, abonneer u dan op ons YouTube-kanaal om ons te motiveren de video's te maken.
Uitbreidbaarheid
Deze methode maakt het mogelijk dat Arduino meerdere taken tegelijkertijd uitvoert zonder elkaar te blokkeren. Bijvoorbeeld: een verzoek naar het internet versturen en wachten op een antwoord, terwijl ondertussen een aantal LED-indicatoren knipperen en een annuleerknop wordt gecontroleerd.